iFrogLab LoRa Gateway execute at QNAP or iEi device. please follow below steps to setup LoRa gateway .
Video Tutorial
Step 1:
please plugin in the iFrogLab LoRa USB device to the QNAP or iEi device, and turn on the QNAP or iEi device, please make sure the device is in the same local network environment with your PC.
the iFrogLab LoRa Gateway, can working below 3 LoRa Device
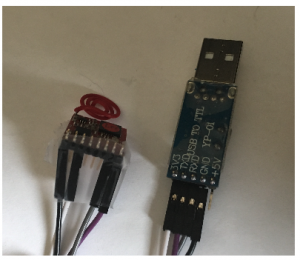
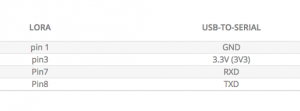
- iFrog LoRa IL-LoRa1272 & USB-to-Serial
- iFrog LoRa Node & USB-to-Serial
- liFrog LoRa USB
Step 2:
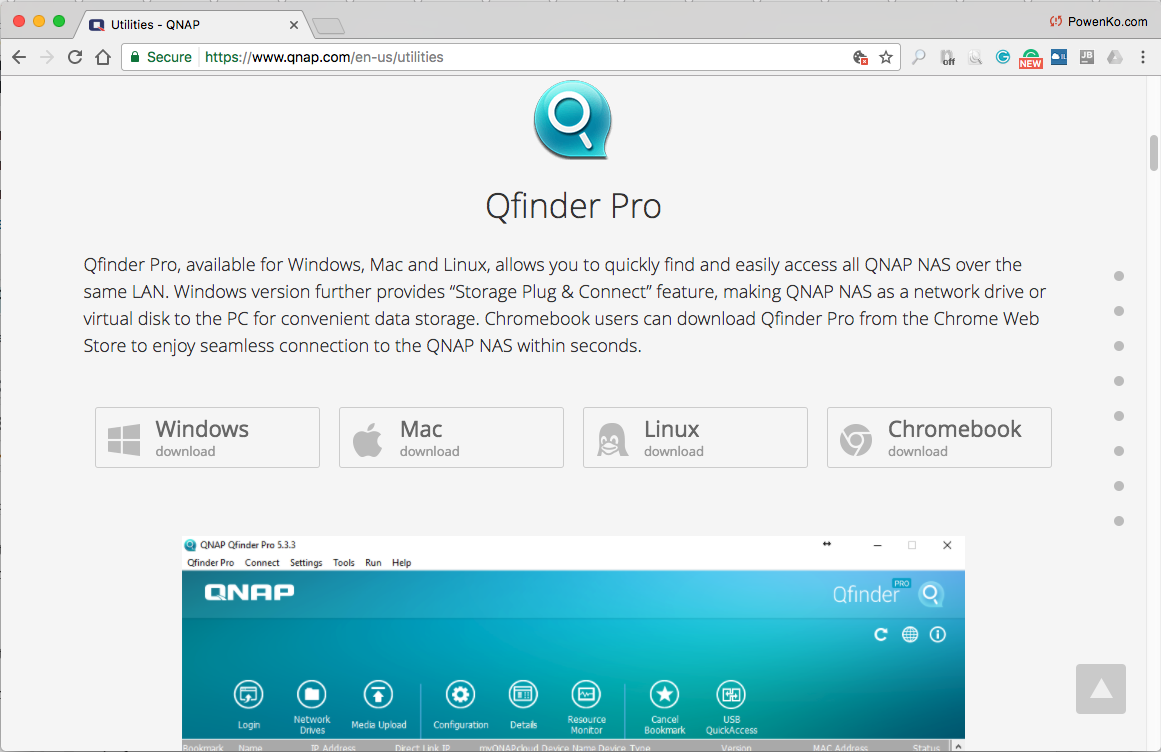
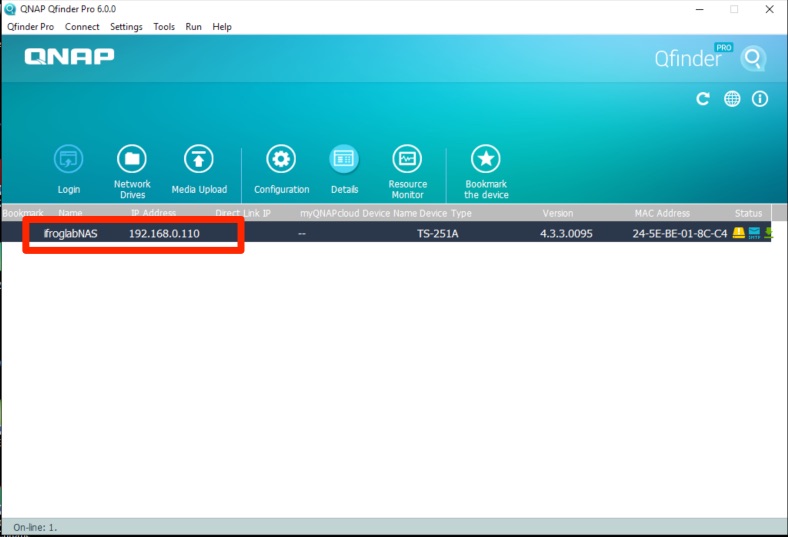
install Qfinder
Step 3:
Open Qfinder , and click your device on network listing to open administrator backend QTS system on browser.
Step 4:
Login to QTS, default username and password are “admin”.
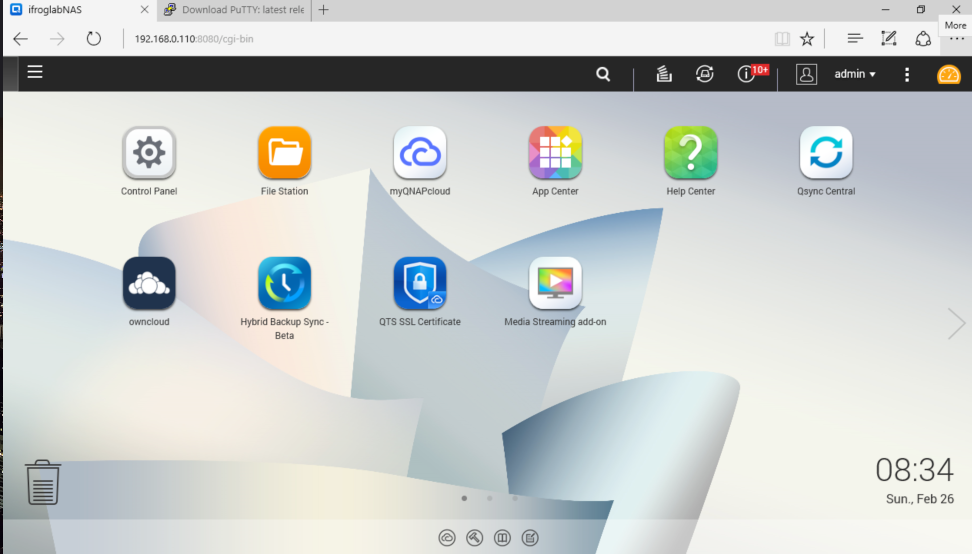
Step 5:
Go to “App enter” and download “container Station” at QTS.
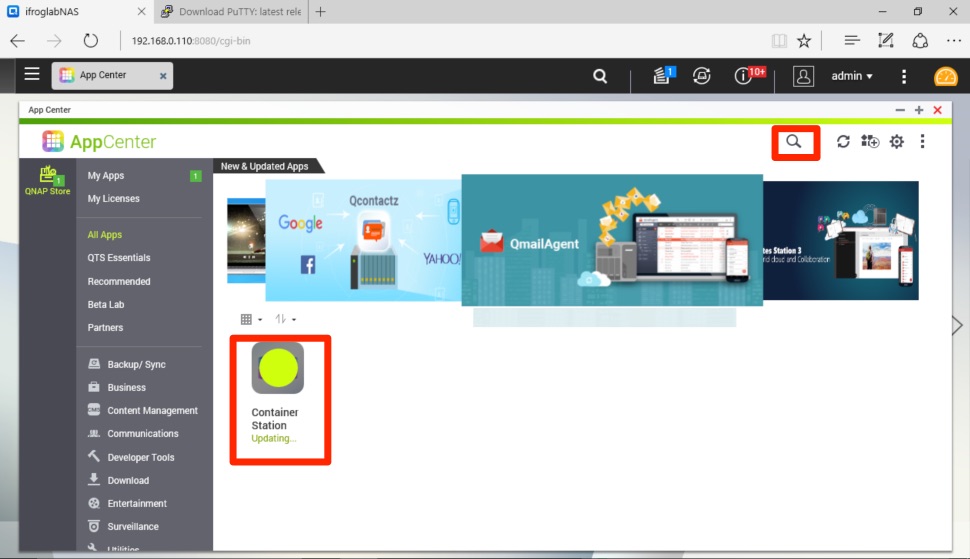
Step 6:
Open Container Station at QTS,
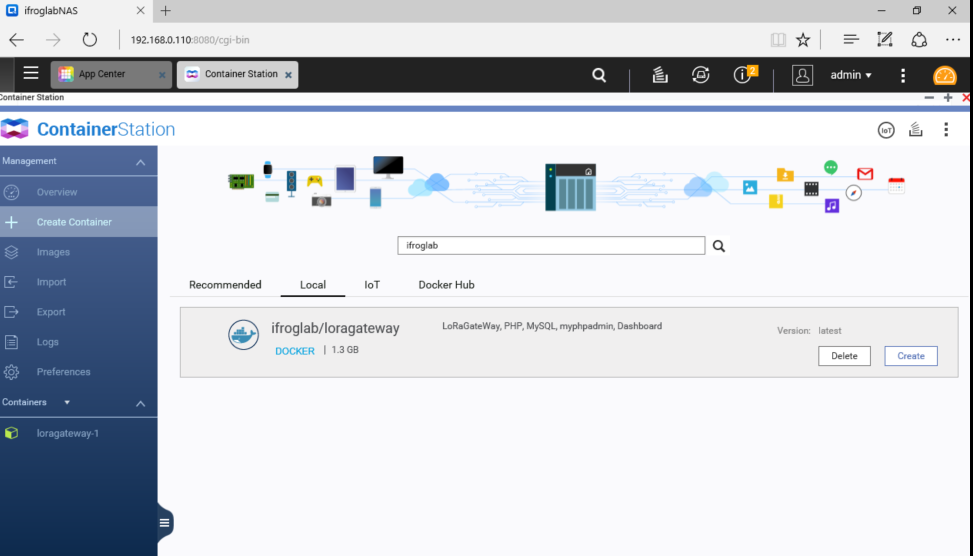
Step 7:
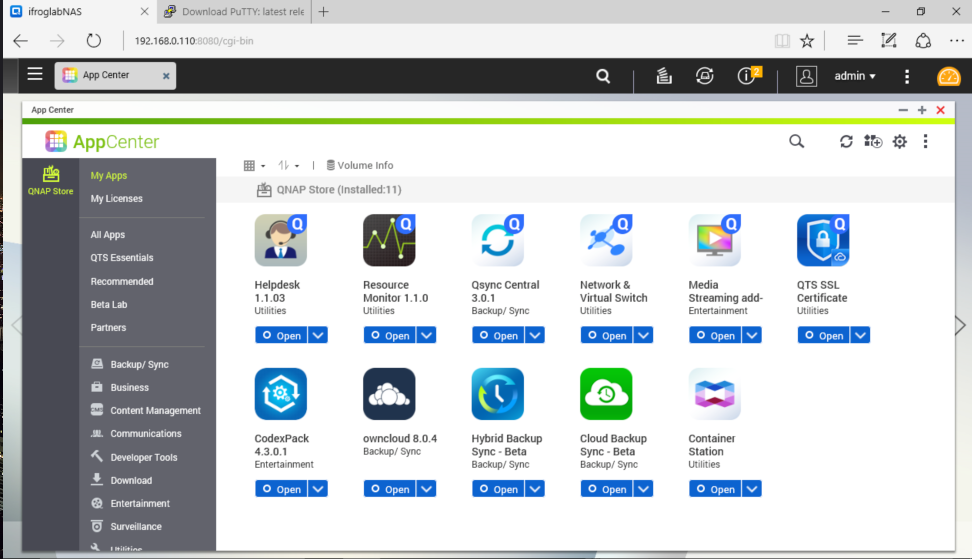
Search “ifroglab”.Download “iFrogLab LoRa gateway container” at Container Station,
or you could download at SSH command.
$ docker pull ifroglab/loragateway:latest
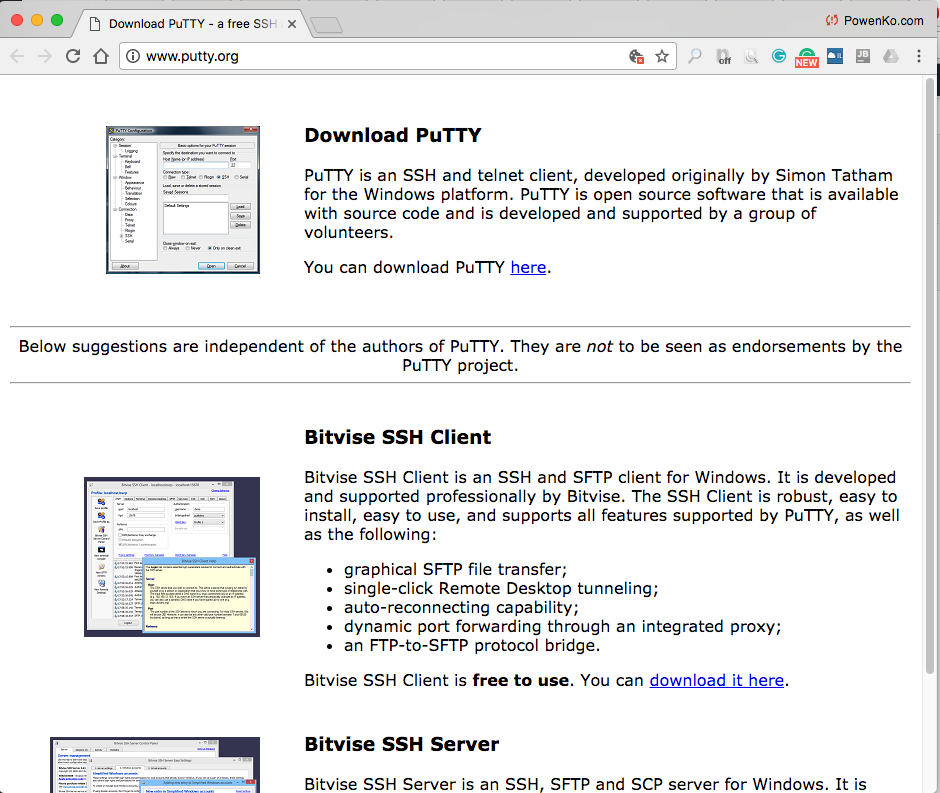
Step 8:
install SSH software on your PC,
- Windows PuTTY.
- Mac Terminal.
- LinuxTerminal.
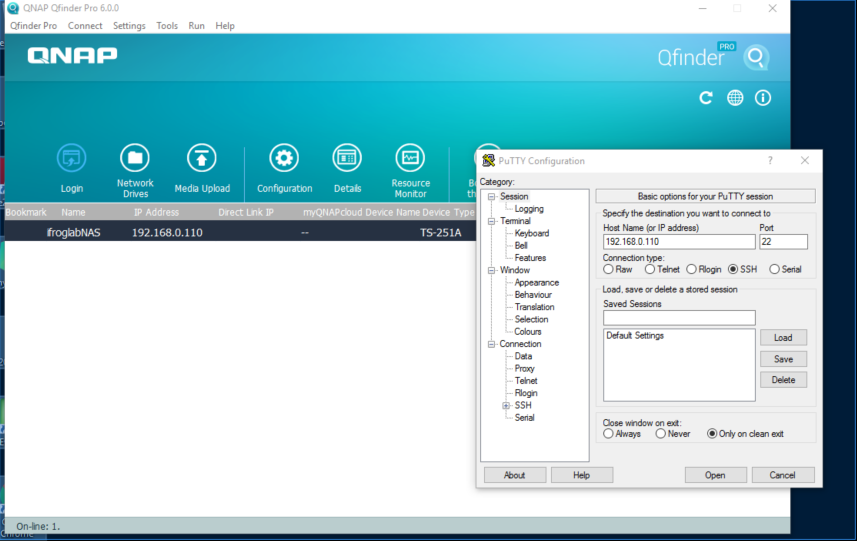
Step 9:
Open SSH or PuTTY , open the QNAP or iEi Device IP address, for example 192.168.0.110
QNAP QTS default password and user name are “admin”.
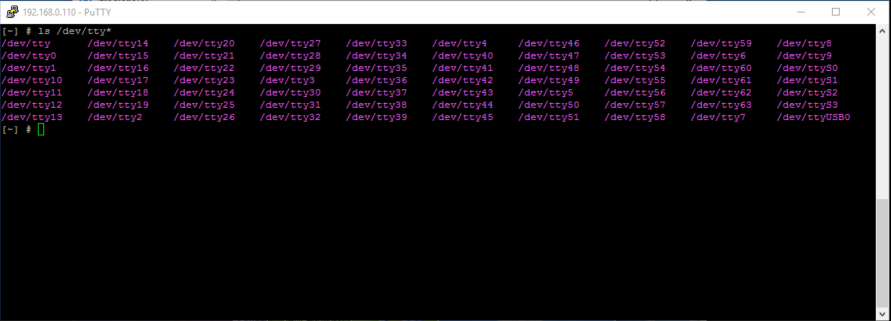
Step 10:
Check LoRa USB or USB-To-Serial linux driver is working,
$ ls /dev/tty*
if working you should get something like:
/dev/ttyAMC0
/dev/ttyUSB0
Step 11:
Run LoRa gateway thoght below command.
$ docker run -p 82:80 -p 3306:3306 –device=/dev/ttyACM0 -i -t ifroglab/loragateway:latest /loragateway.sh
- please change “/dev/ttyACM0” to Step 10 device name.
- “82:80” is forward website port to 82.
Step 12:
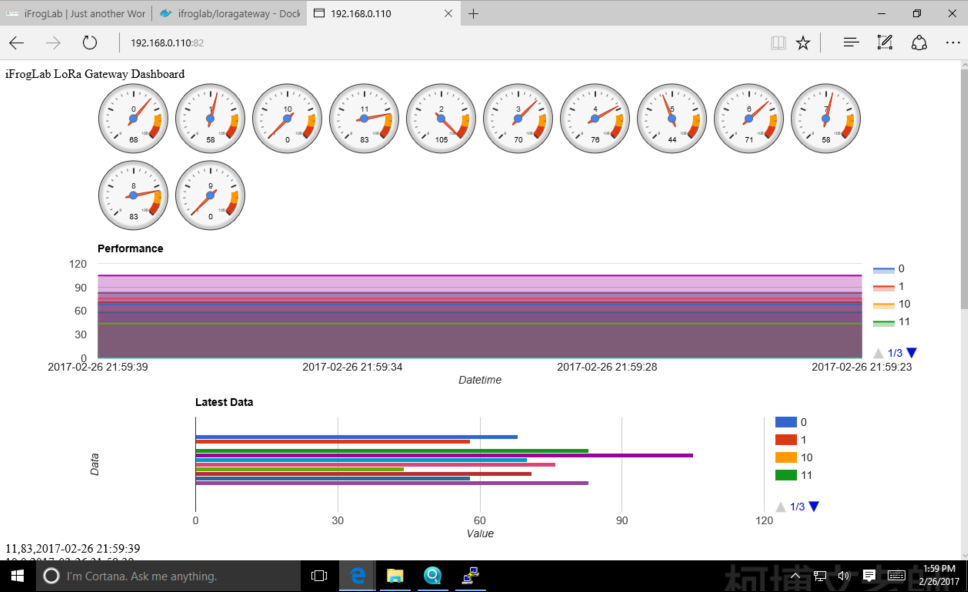
open browser, link to http://QNAP IP Address:82
for example, http://192.168.0.110:82

Success!
if it has problems, please feeling free to write an email to us, support@looptek.com
for the LoRaNode, please see our LoRa node tutorial.
No Comments